Message String Editor
Use the Message Strings Editor to edit the text and formatting of the various system-defined messages used on the portal web pages or add a custom message string. You can also import a file of message strings or export message strings to a file.
To configure message strings:
- Select Control > Access Control
- Expand Configuration
- Select Captive Portals > [portal name] > Website Configuration > Look & Feel
- Select Launch Message Strings Editor
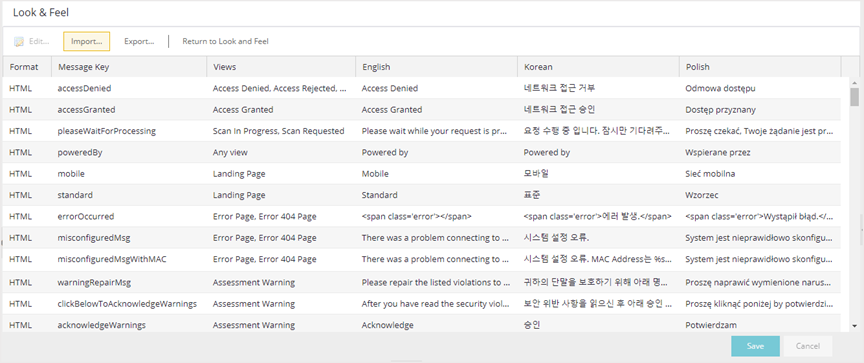
The Message Strings table displays all the message strings used in ExtremeControl. It includes the following columns:
- English
- The text of the message.
Use the toolbar to add or change message strings, import a file of message strings. or export the message strings to a file. The toolbar functions are:
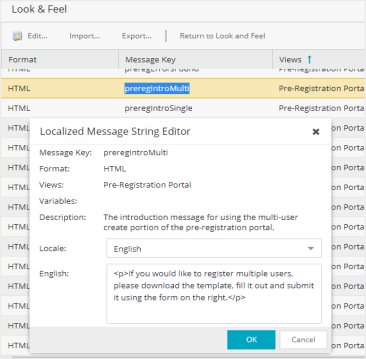
- Edit
- Select the key you want to edit. Next, select Edit from the toolbar or double-click the key to open the Localized Message String Editor.
NOTE: To change the Message Key for a user-defined message, you must delete and recreate the message using the new key.
- Import
- Select to open a window where you can select a file of message strings to import for a selected locale. The list of locales includes the default locale and any locales defined in the portal configuration. Message strings in the file must be in the following format:
messageKey=messageValue
withmessageKeybeing the message identifier andmessageValuebeing the message text.CAUTION: Importing message strings from a file overwrites the corresponding default message strings for the selected locale. For example, if you import a file with 15 message entries, only the default messages for those 15 entries are overwritten. The other default messages for that locale remain.
- Export
- Select to open a window where you can export messages for a selected locale to a file. In the Export window, select the locale to export. The list of locales includes the default locale and any locales defined in the portal configuration. Specify the encoding to use:
- Native — Use this encoding if you want to read the file in the native language.
- UTF-8 — Use this encoding to export a file in a readable format that you can share. For example, if you export a French locale file and send it to someone in Japan, the characters display correctly (providing the Japanese system can display French characters).
- UTF-8 with Unicode — Use this encoding to export the file in order to use it (import it) on another ExtremeCloud IQ Site Engine server or client.
NOTE: Non-ASCII characters are not readable, and it displays as \u####.
Select Include System-Defined Messages to include in the export file all the system-defined messages provide by ExtremeControl.
- Return to Look and Feel
- Select the Return to Look and Feel button to redirect back to the Look & Feel screen.
For information on related help topics:
![]()