You can use the ExtremeCloud IQ Site Engine Maps feature to set the scale of a map of devices or wireless access point (APs) in your network.
In order to edit maps, you must be a member of an authorization group assigned the OneView > Maps > Maps Read/Write Access capability.
Setting the Map Scale
The map scale appears in the lower left corner of a map and can be changed to accurately reflect your map image.
Use the following steps to set the scale for a map.
- In the Maps page's navigation tree, right-click on the map and select Maps > Edit Map or select the File > Edit button in the map properties panel.
- Select the map scale in the map's footer panel to open the Set Map Scale window. (Users can access the Set Map Scale window from the Tools menu.)

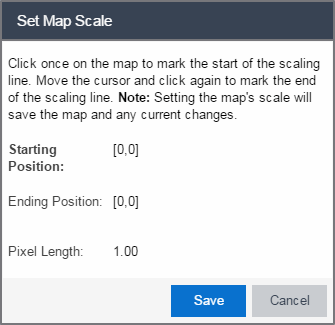
- To set the scale, you must measure something in the map using a scaling line, and then set the measurement for the line. For example, in an office floor plan, measure a scaling line on the opening of an office. If you know the office doors are 33 inches wide, enter that as the scaling line measurement.
- Select on the map to mark the start of the scaling line. Move the cursor and select again to mark the end of the scaling line.
- Enter the line length and units.
- Select Save. The map scale is automatically adjusted and the map is saved.
For information on related help topics: