The Report Designer lets you create custom reports by selecting from a list of available Analytics, Control, Console, and Wireless dashboards (system reports), and customizing the report component panels to meet your specific needs. The Report Designer can be accessed from the Reports tab. The Report Designer also lets you create a new report based on individually selected components. When a report is created, it is available from the report catalog in the Reports tab.
In order to use the Report Designer, you must be a member of an authorization group that is assigned the XIQ-SE OneView > Access OneView and XIQ-SE OneView > Access OneView Administration capabilities.
Creating a New Report
Use the following steps to create a new report. The new report is added to the Reports tab.
- Select the Reports > Report Designer tab.
- Select the New button
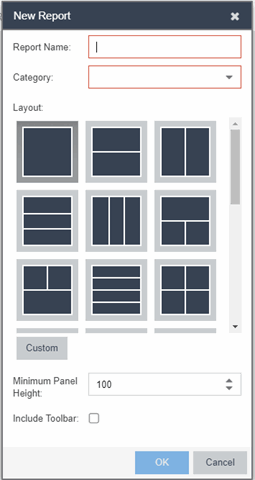
 . The New Report window opens. Use this window to define the report characteristics.
 - Enter a Report Name. Use an easy to recognize name in the Reports tab.
- Select a Category for the report from the drop-down list or enter a category in the Category box. This allows you to group your report within an existing report category (in the Reports tab) or create a new category.
- Select from the Layout options to determine the number of reports that are displayed in each row and column of your dashboard.
- Select the Minimum Panel Height from the drop-down list.
- Select the Include Toolbar box to add the tool bar to your dashboard.
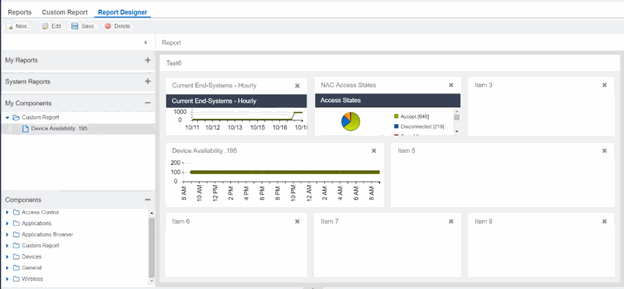
- Select the OK button. The empty layout format displays in a new tab.
- Drag and drop the components from the left panel that you want displayed in the dashboard.
- When in place, the components are a live preview of the data.
- Select Save. The new report is now listed in the Reports tab under the appropriate category.
For information on related help topics: